Translate menus with WPML plugin
Elemental Menu supports WPML by default. You can easily create multi-language menus with Elemental Menu and WPML. For a quick tutorial, please check out this video
Table of Content
1. The idea
Elemental Menu saves data of menu items by their unique IDs. Meanwhile, WPML creates different menu items with different IDs every time we translate a menu. It means that menu items of a translated menu can’t access the data of the original menu items.
So the idea is that we don’t translate menu items’ data, we create different data for translated menu items.
2. Translate a Menu
If you don’t know how to translate a menu with WPML, please refer to this article. In this guide, we only show you how to display a translated menu with Elemental Menu.
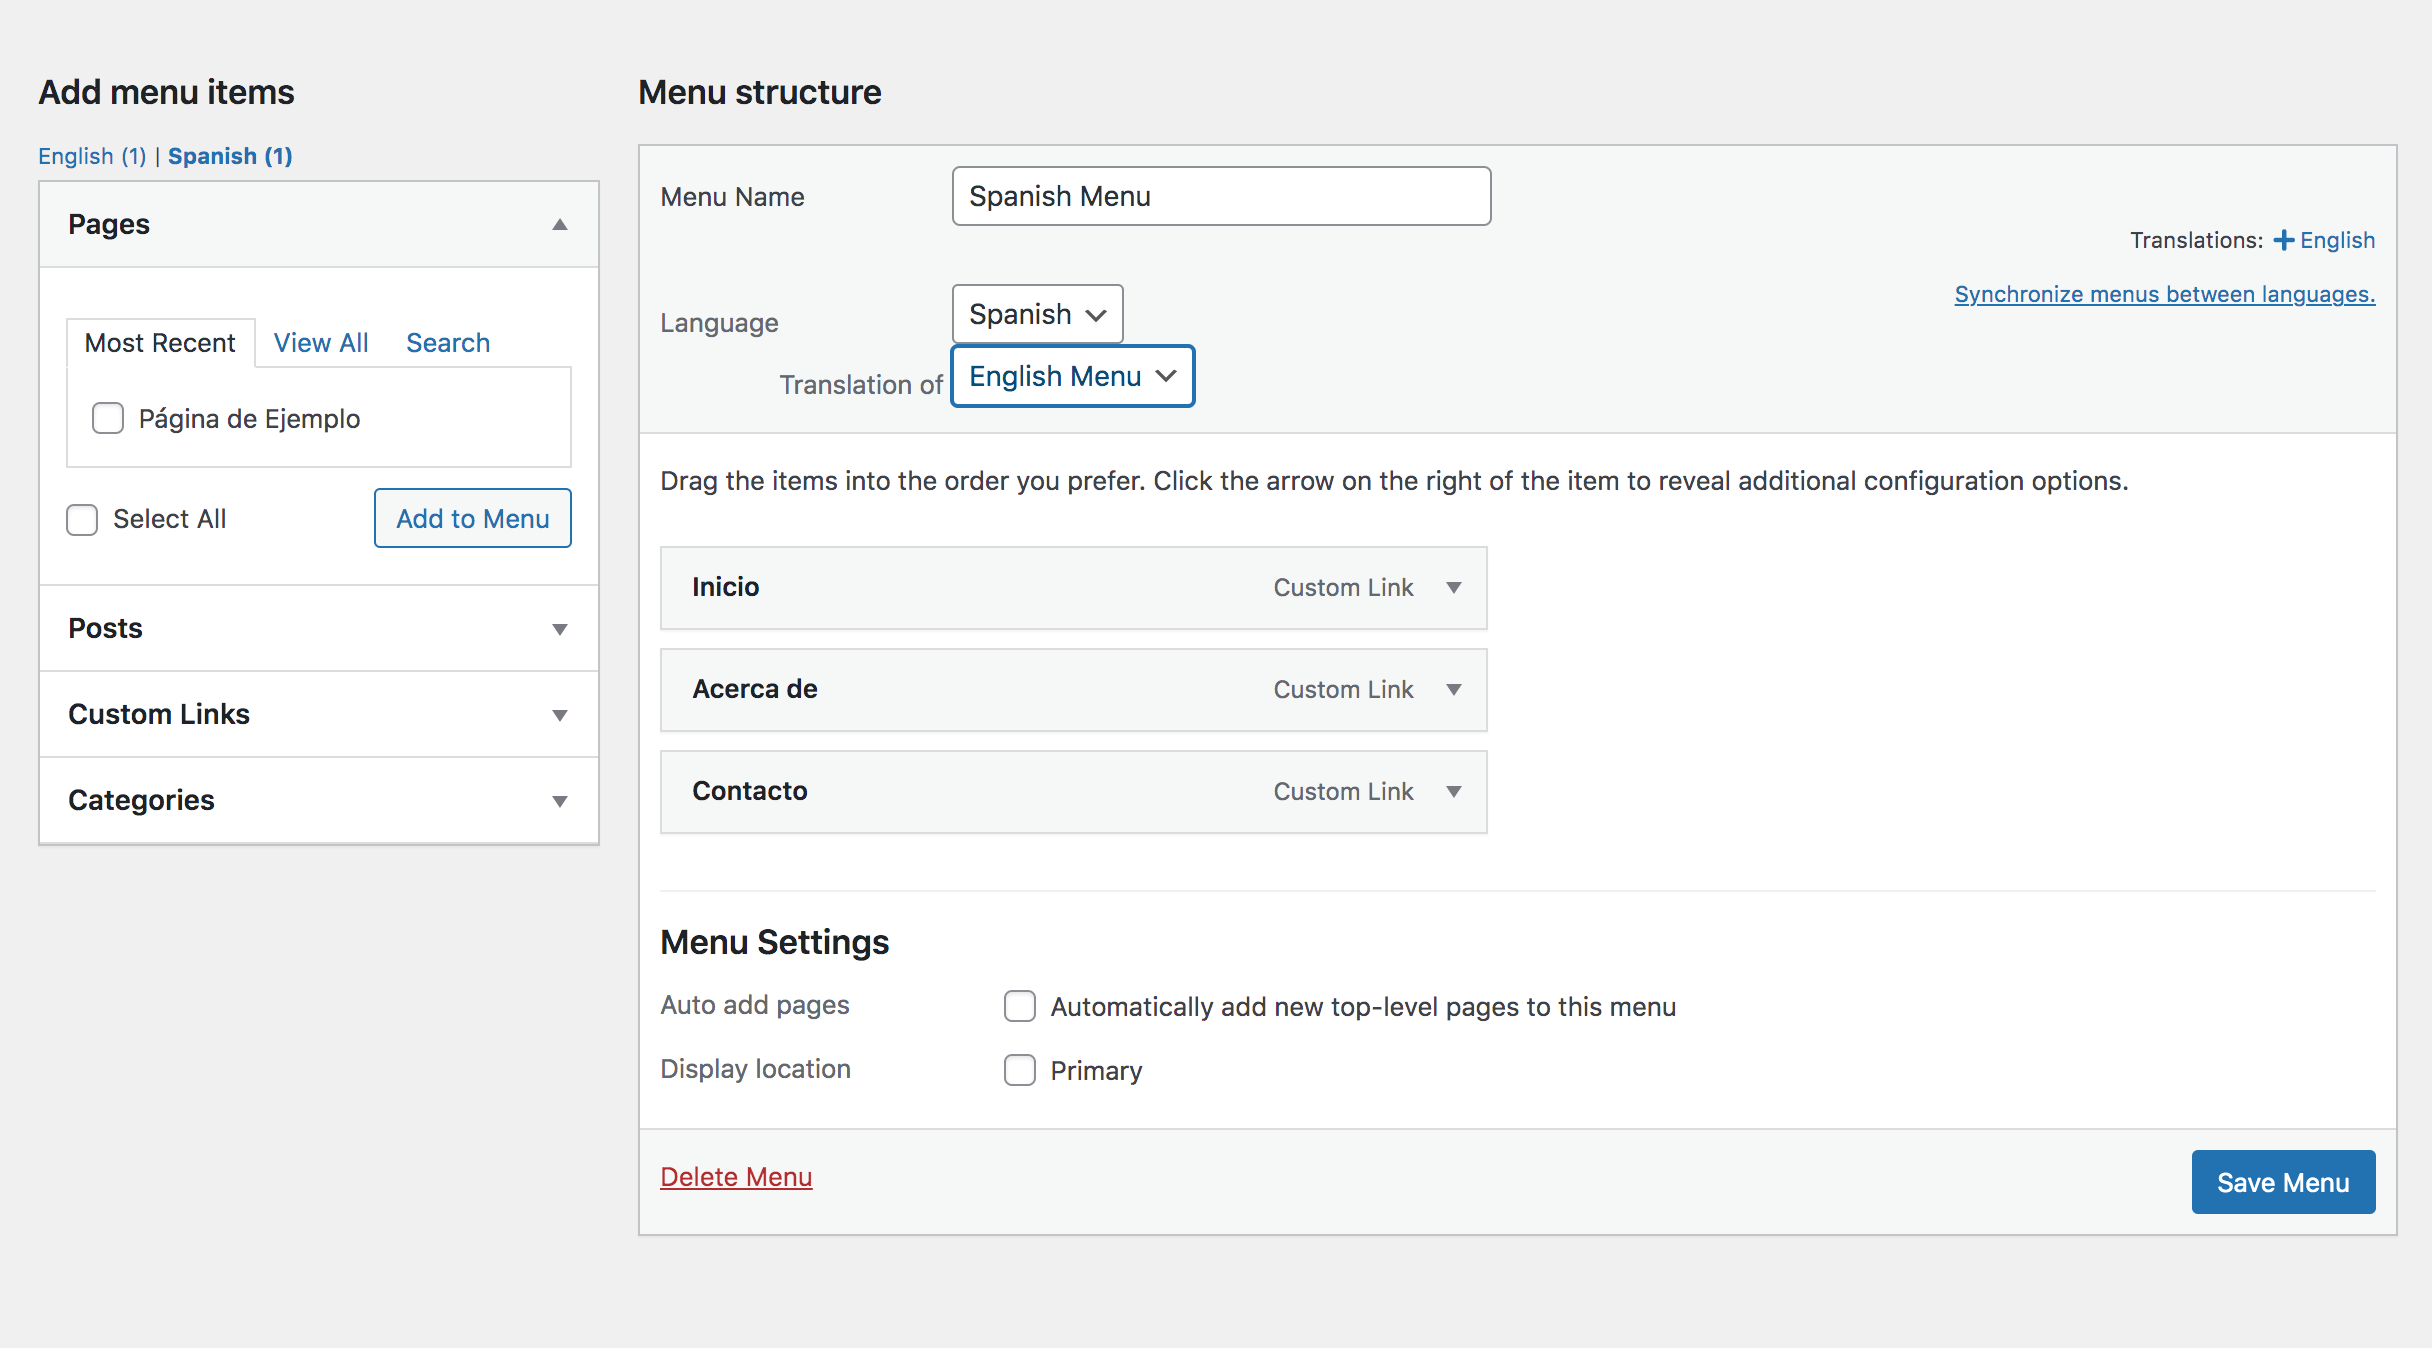
Let’s say we have an Elementor template displaying an original menu in English named English Menu. We also have a translated menu named Spanish Menu:

Now, to show the Spanish Menu on every Spanish web page:
- Switch to Spanish on the WordPress admin dashboard by selecting Spanish on the WPML dropdown.
- Open Spanish version of the Elementor template containing the Elemental Menu widget to edit. If the template isn’t translated, please translate it first. If you don’t know, follow this guide to know how to translate an Elementor template.
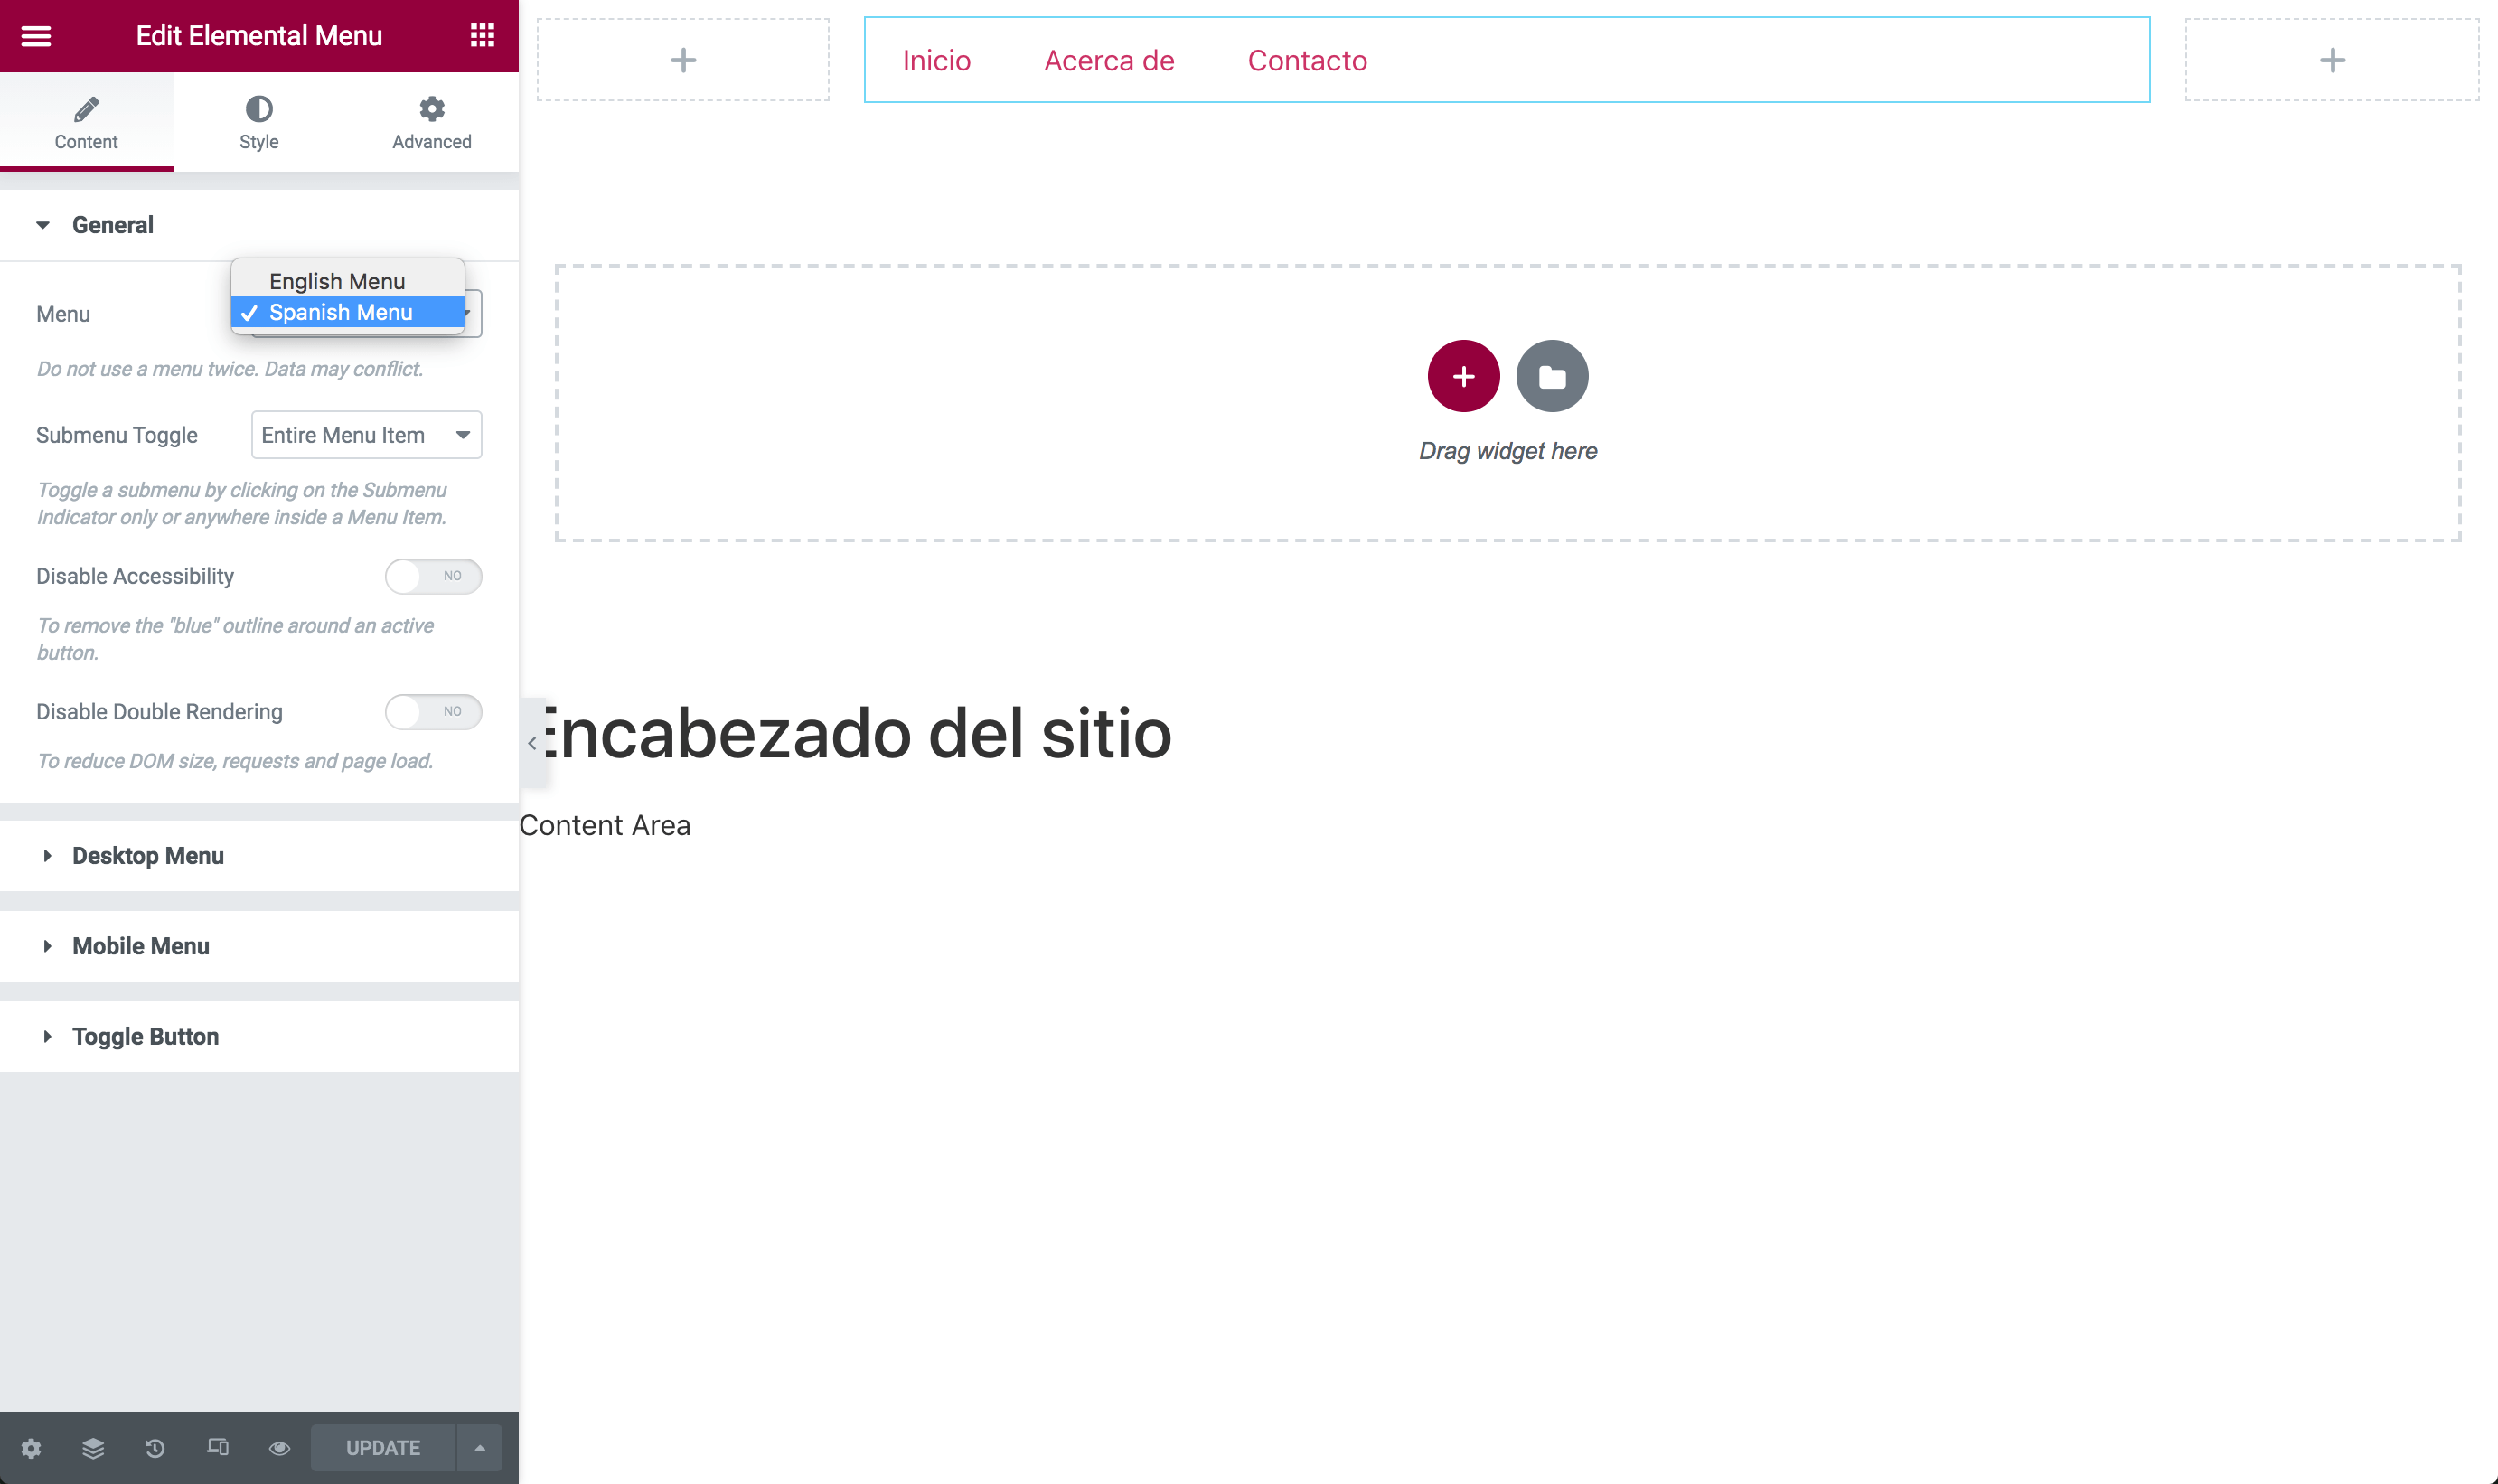
- On the Menu control of the Elemental Menu widget, select the Spanish Menu.
- Click “UPDATE” –> “SAVE & CLOSE”. DO NOT add any “Display Conditions”, leave it empty.

[NOTICE] After being updated, the Elementor template may disappear on the frontend. This bug has been reported here. If it happens, follow these steps to fix it:
- Switch to the default language on the WordPress admin dashboard by selecting the default language on the WPML dropdown.
- Open the original version (in default language) of the Elementor template to edit.
- Save the “Display Conditions” again: “Save Options” –> “Display Conditions” –> “SAVE & CLOSE”.
3. Translate a Mega Submenu
As mentioned before: we don’t translate data, we create different data for translated menu items.
To create a different Mega Submenu for a translated menu item:
- Switch to your target language.
- Open the translated Elementor template.
- Edit the target menu item.
- Edit the Mega content in that language.
[TIPS] Save the Mega Submenu of the the original menu item as a template then import that template when editing the translated menu item. By doing that, you just need to translate the content without having to rebuild the Mega Submenu from scratch.
4. Translate a Flyout Submenu
Menu items in a Flyout Submenu are translated when translating a menu. You just need to update Icons or Badges if needed. To do that:
- Switch to your target language.
- Open the translated Elementor template.
- Edit the target menu item.
- Edit the Icon or the Badge however you want.